This week continued the theme of working on everything that needed to be installed behind the walls and ceilings. The view of the house with the orangey roof.
This photo was taken less than 20 seconds after the photo above. It's amazing the difference between the two because of the lighting.
Central vacuum piping was completed in a day. This is where the vacuum will sit in the corner of the garage.
The light switches and a receptacle in the garage.
The central vac orifice nearest the kitchen.
Looking at the back wall of the kitchen. Electrical is all roughed in.
Plumbing and electrical rough-in for the upstairs bathroom.
Another central vacuum hose connection receptacle.
One of the electrical panelboards in the basement. This one serves the north side of the home which includes all of the kitchen circuits and the upstairs circuits.
I had the framers add a little pony wall between the theater room and the family room in the basement. We will have a countertop installed on top with bar stools.
The second electrical panelboard installed, but without any circuits homerun.
This was the gorgeous sunset that greeted me last week.
The electrical service and gas service are in place.
The Hardie Board for the exterior has been delivered.
More Hardiplank siding (i.e. a cementitious fiber board).
The electrician needed the dimensions of the plugspace for the fridge. I took a picture to help him located the plug (because we already have our kitchen appliances, we're just storing them in our garage).
Alison and Lyla looking out at me. Little did they know about all of the graffiti on the walls (It's actually marking showing where the condenser units will sit and where the electrical wires needed to be pulled to).
The house from the back.
Another view of the electrical metering panelboard. The two breakers on top feed the two panelboards in our house. We paid to upgrade our electrical service from the standard 200A service to a 400A service.
The view of the electrical rough-in in the dining/kitchen area. We swapped out the can lights that were installed over the island and replaced them with pendant fixtures (specific fixtures tbd).
Electrical rough-in is in place on the back family room wall.
The fireplace and nearby electrical.
The ceiling in the master bedroom.
Looking towards the master bathroom from the master bedroom.

As far as I know, this is the only electrical receptacle installed so far. It's for the pump for the jetted tub.
Plumbing for the master bathroom sinks.
Apparently our plans showed a heat lamp and fan just outside of the shower. The electrician was asking if we really wanted it (I didn't know it was in the plans)...
4-gangs of switches.
The ceiling junction box in Ada's room (to mount her light fixture).
Upstairs furnace. Gas piping, ductwork, condenser piping and electrical connections are all in place.
A view above the ceiling of the vacuum piping (white), can lights, return air (silver box) and condenser piping (black with copper pipe alongside).
Rough-in for the basement kitchen. The white pipe is for the central vacuum, specifically for a port in the kick-plate. Electrical and gas to the range
More rough-in at the basement kitchen. Gas piping for an outdoor grill and water piped to the sink under the window.
The view of the basement great room.
Another view looking back toward the theater room.
The HVAC guys had to come back to extend the ductwork for the air vents into the dropped ceiling.
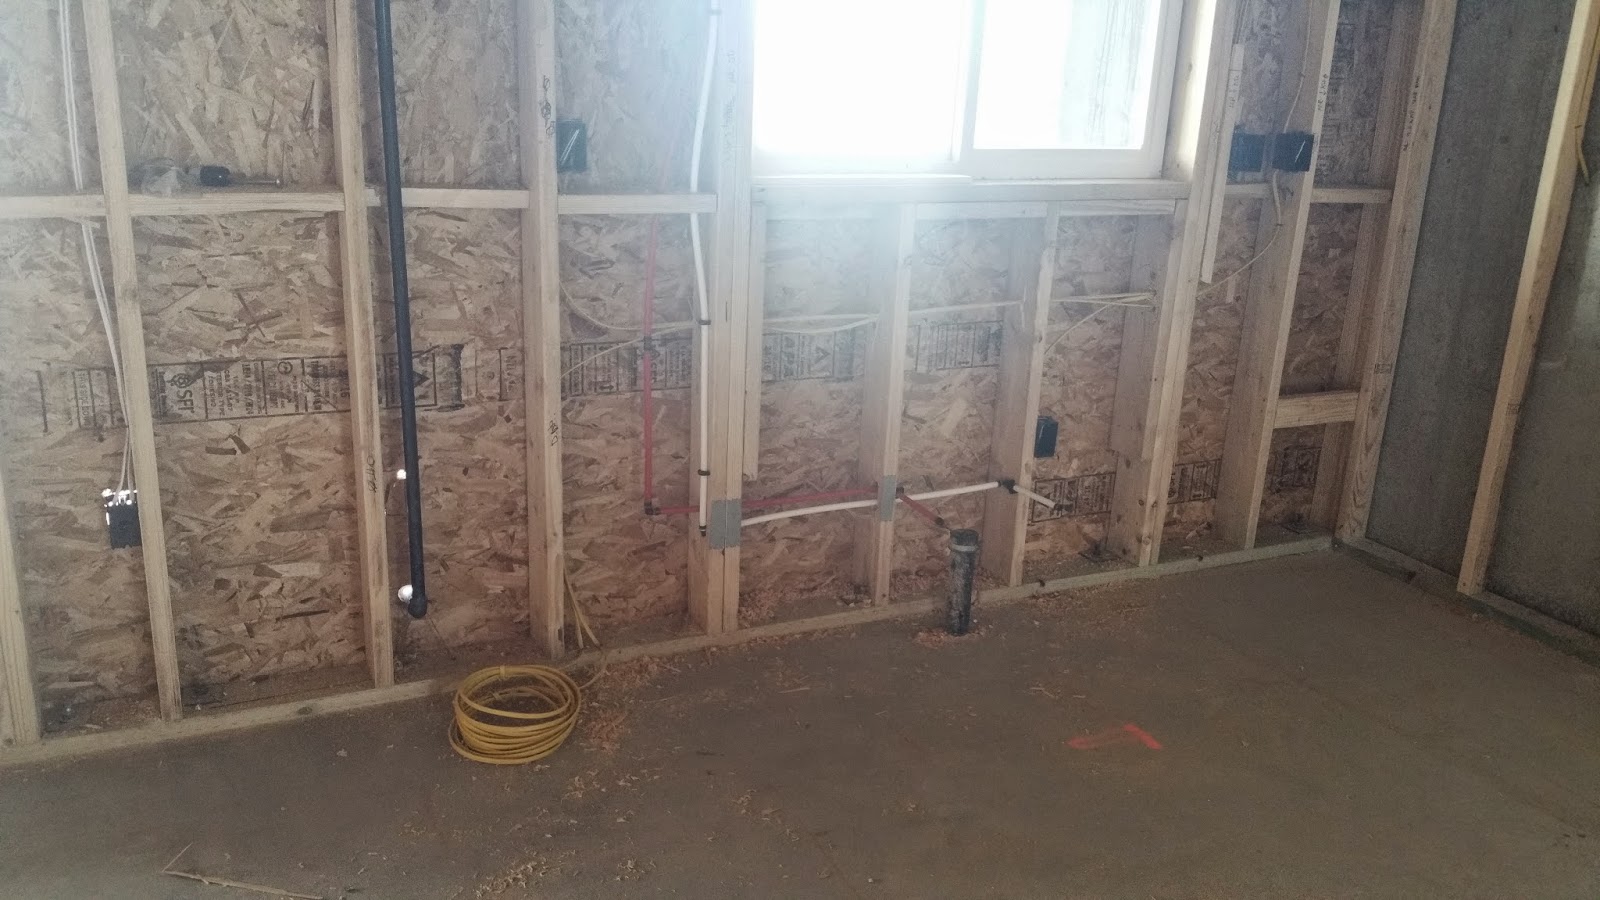
I like this picture. In it you can see electrical feeders and circuits, light fixtures, HVAC ductwork and condenser lines, natural gas piping, central vacuum and hot and cold water plumbing.
After the gas piping was installed, the gas pipe fitters posted this schematic in the furnace room.
This is where the electrical service enters the house. There is a ufer ground connected to the rebar.
The gas service enters the house near the electrical service. This is the 2" gas line from the exterior.
This is where water comes into the house.
Another view of the great room in the basement. Lighting will mostly be downlights, with a couple of fans.
The basement garage.
The view of the back patio and deck from just behind the basement garage.
Another view from the back.
A panorama from the deck. I love this view.
Looking up the street, you can see that our neighbors to the south started excavating this week and the neighbors to the south of them have started framing.
Another view from the northeast.
And from the southeast.
You can see our house just peaking up above the dumpster. I'm glad that the two houses to the south of us have started. It will be nice to not have construction going on right around us once these homes are built.
We're amazed by how quickly things have been going. This week will be spent on insulation, low-voltage wiring and solar panels!


3 comments:
Who's installing your solar? Your builder or another company?
JC - Intermountain Wind and Solar (they're located just to the north of Foxboro) will be installing the solar panels, but it is under the general contractor's contract.
Are you going to do some LED around the outside of the house? I bet you have seen some cool things to do on your own home in your travels.
Post a Comment